I’ve recently been asked about producing extended focus photomicrographs of pollen and other complex shaped objects, using bright field microscopy. I thought I’d write up a quick guide to doing this using the equipment we have in our laboratories. It is particularly useful when producing illustrations for publications, where a single plane of focus cannot capture all of the detail and texture of objects like pollen grains. Best results are achieved using a good quality lens on a microscope that is fully aligned using the Koehler Illumination method.

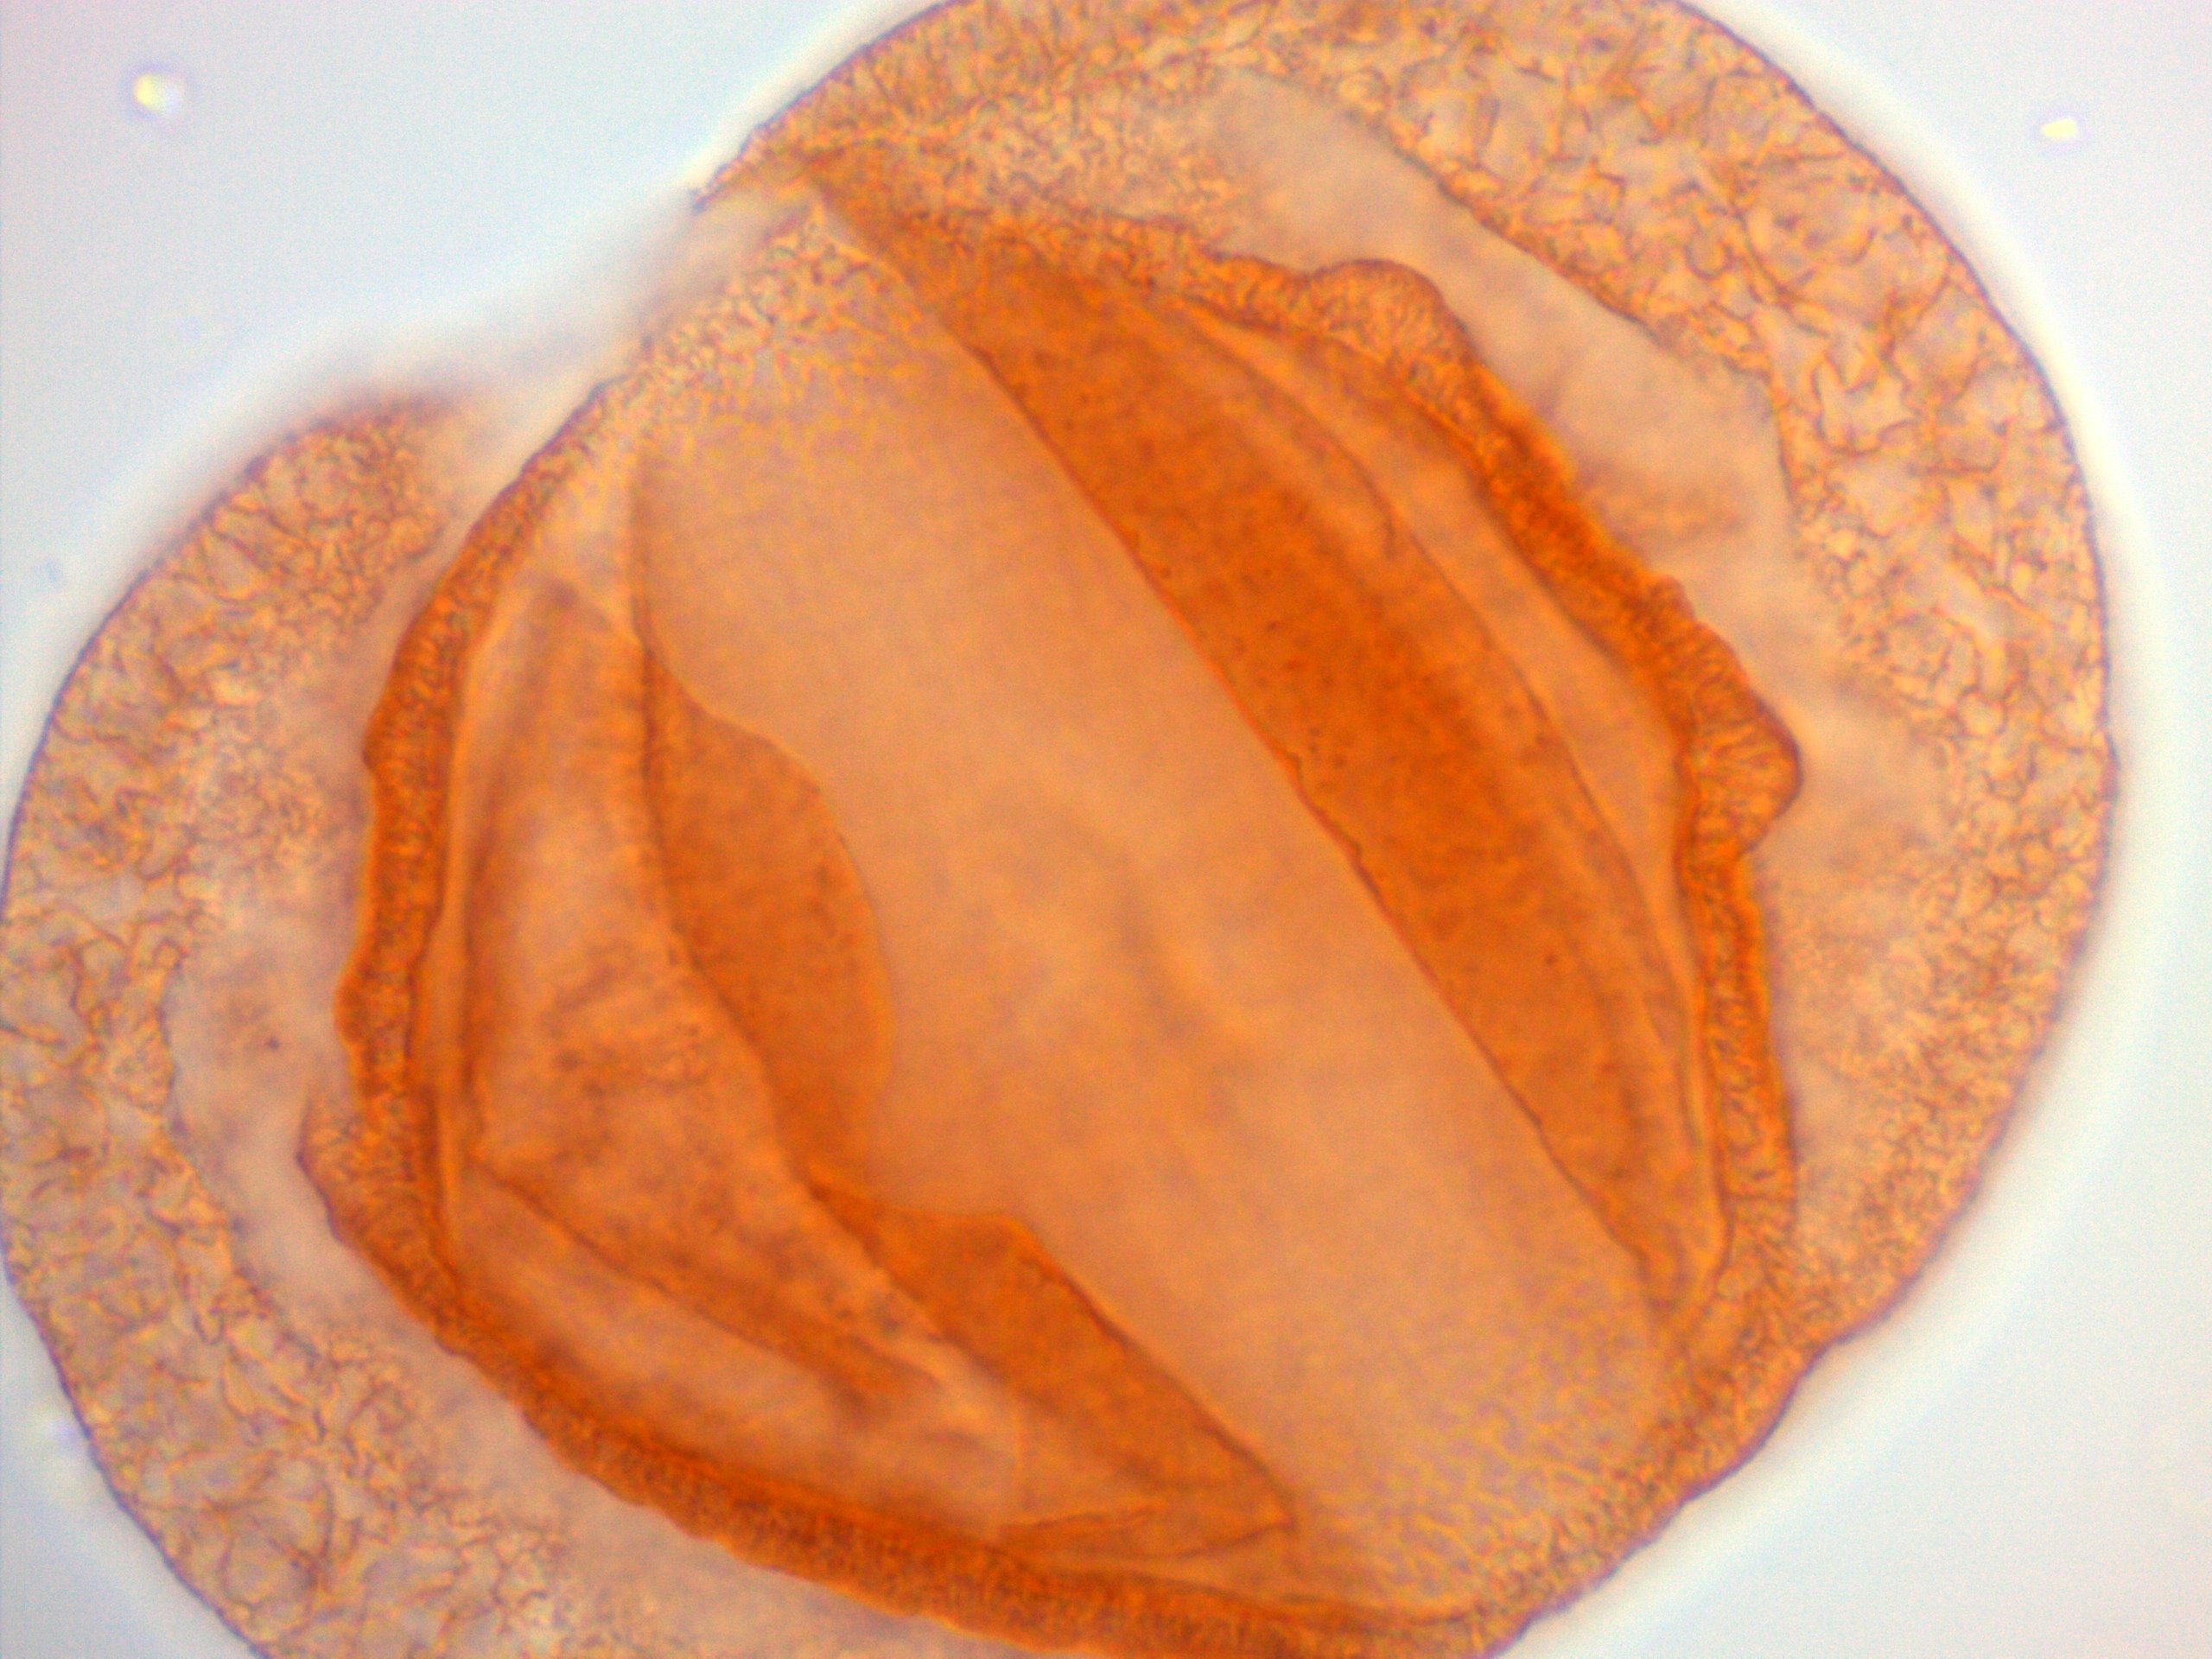
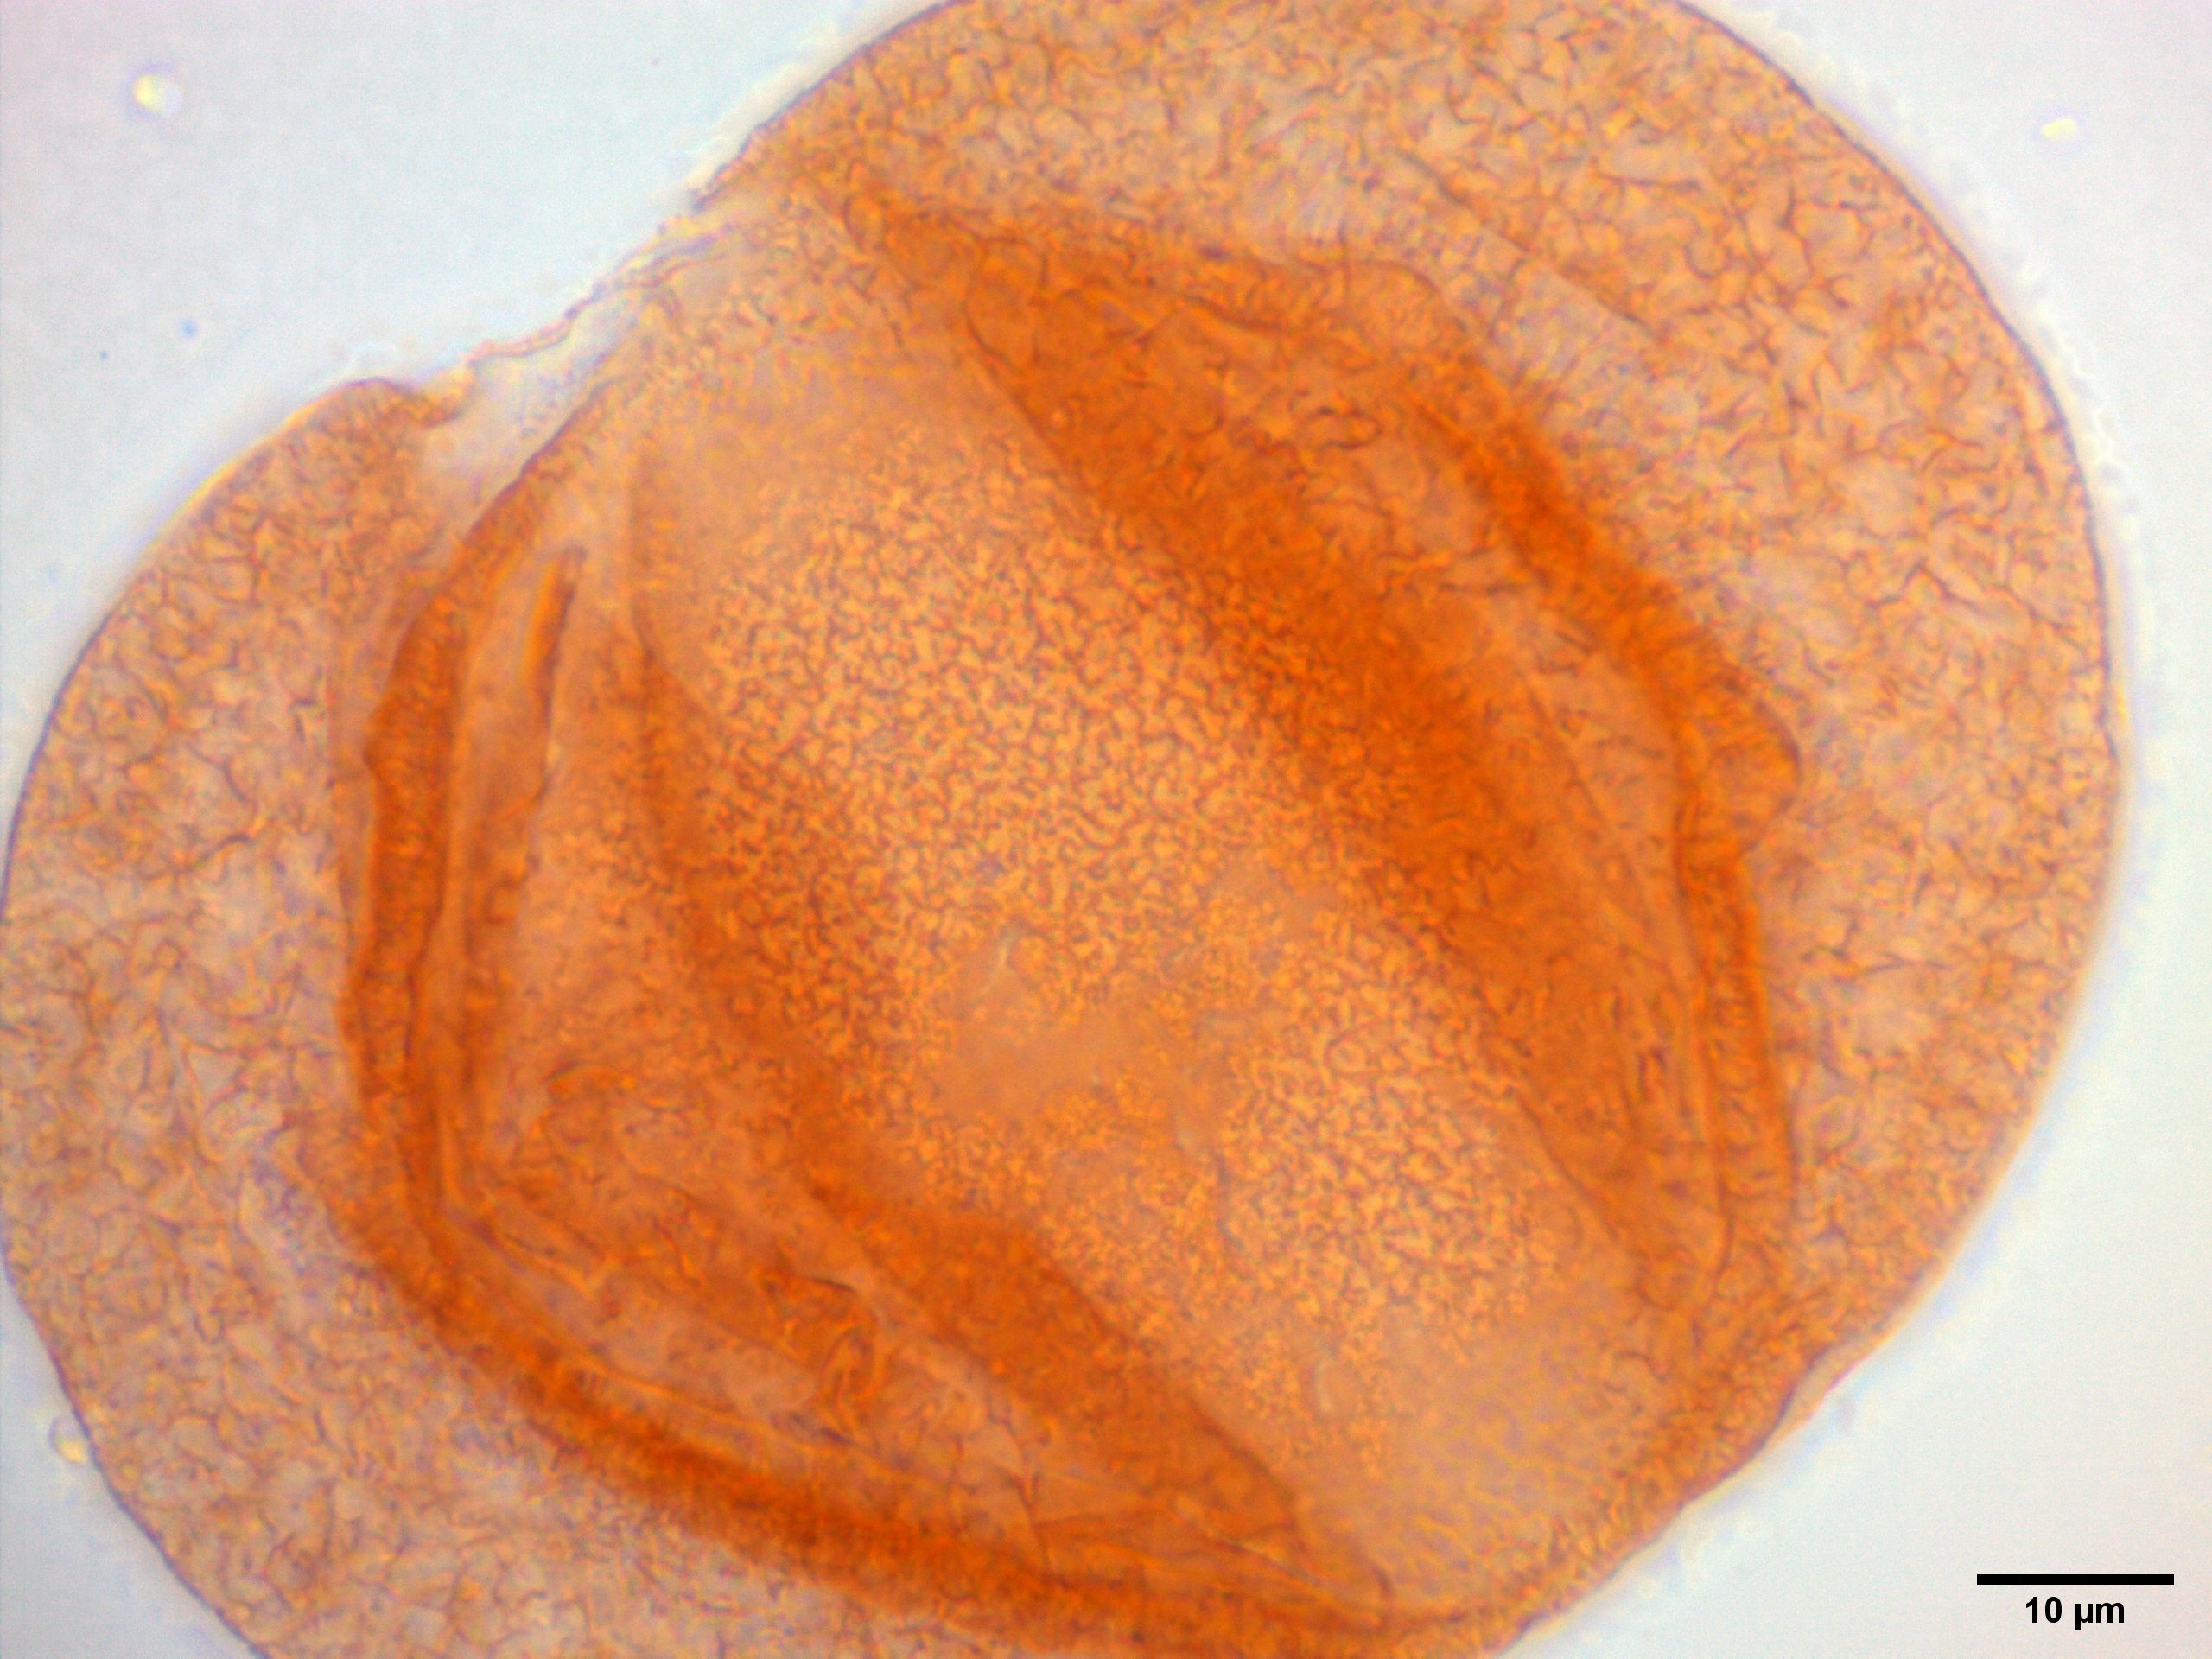
The images used here were captured using our Zeiss Ax10 Scope A.1, AxioCam Erc5s camera, Zeiss EC Plan-NEOFLUAR 100x oil-immersion objective lens, and Zeiss ZEN v3.3 software, by Tom Bishop in March 2021. The specimen is a grain of Cedrus atlantica pollen mounted in glycerol.
We’ll be using imageJ (here version 1.53e) and the Extended Depth of Field Plugin. imageJ only needs unzipping into an appropriate location, and the plugin file (*.jar) just needs to be saved to the folder ImageJ/plugins/ in order for it to be available in software. The examples images are available from the links below:
- https://thomasbishop.uk/wp-content/uploads/2021/03/scale_0.01mm_per_div.tif
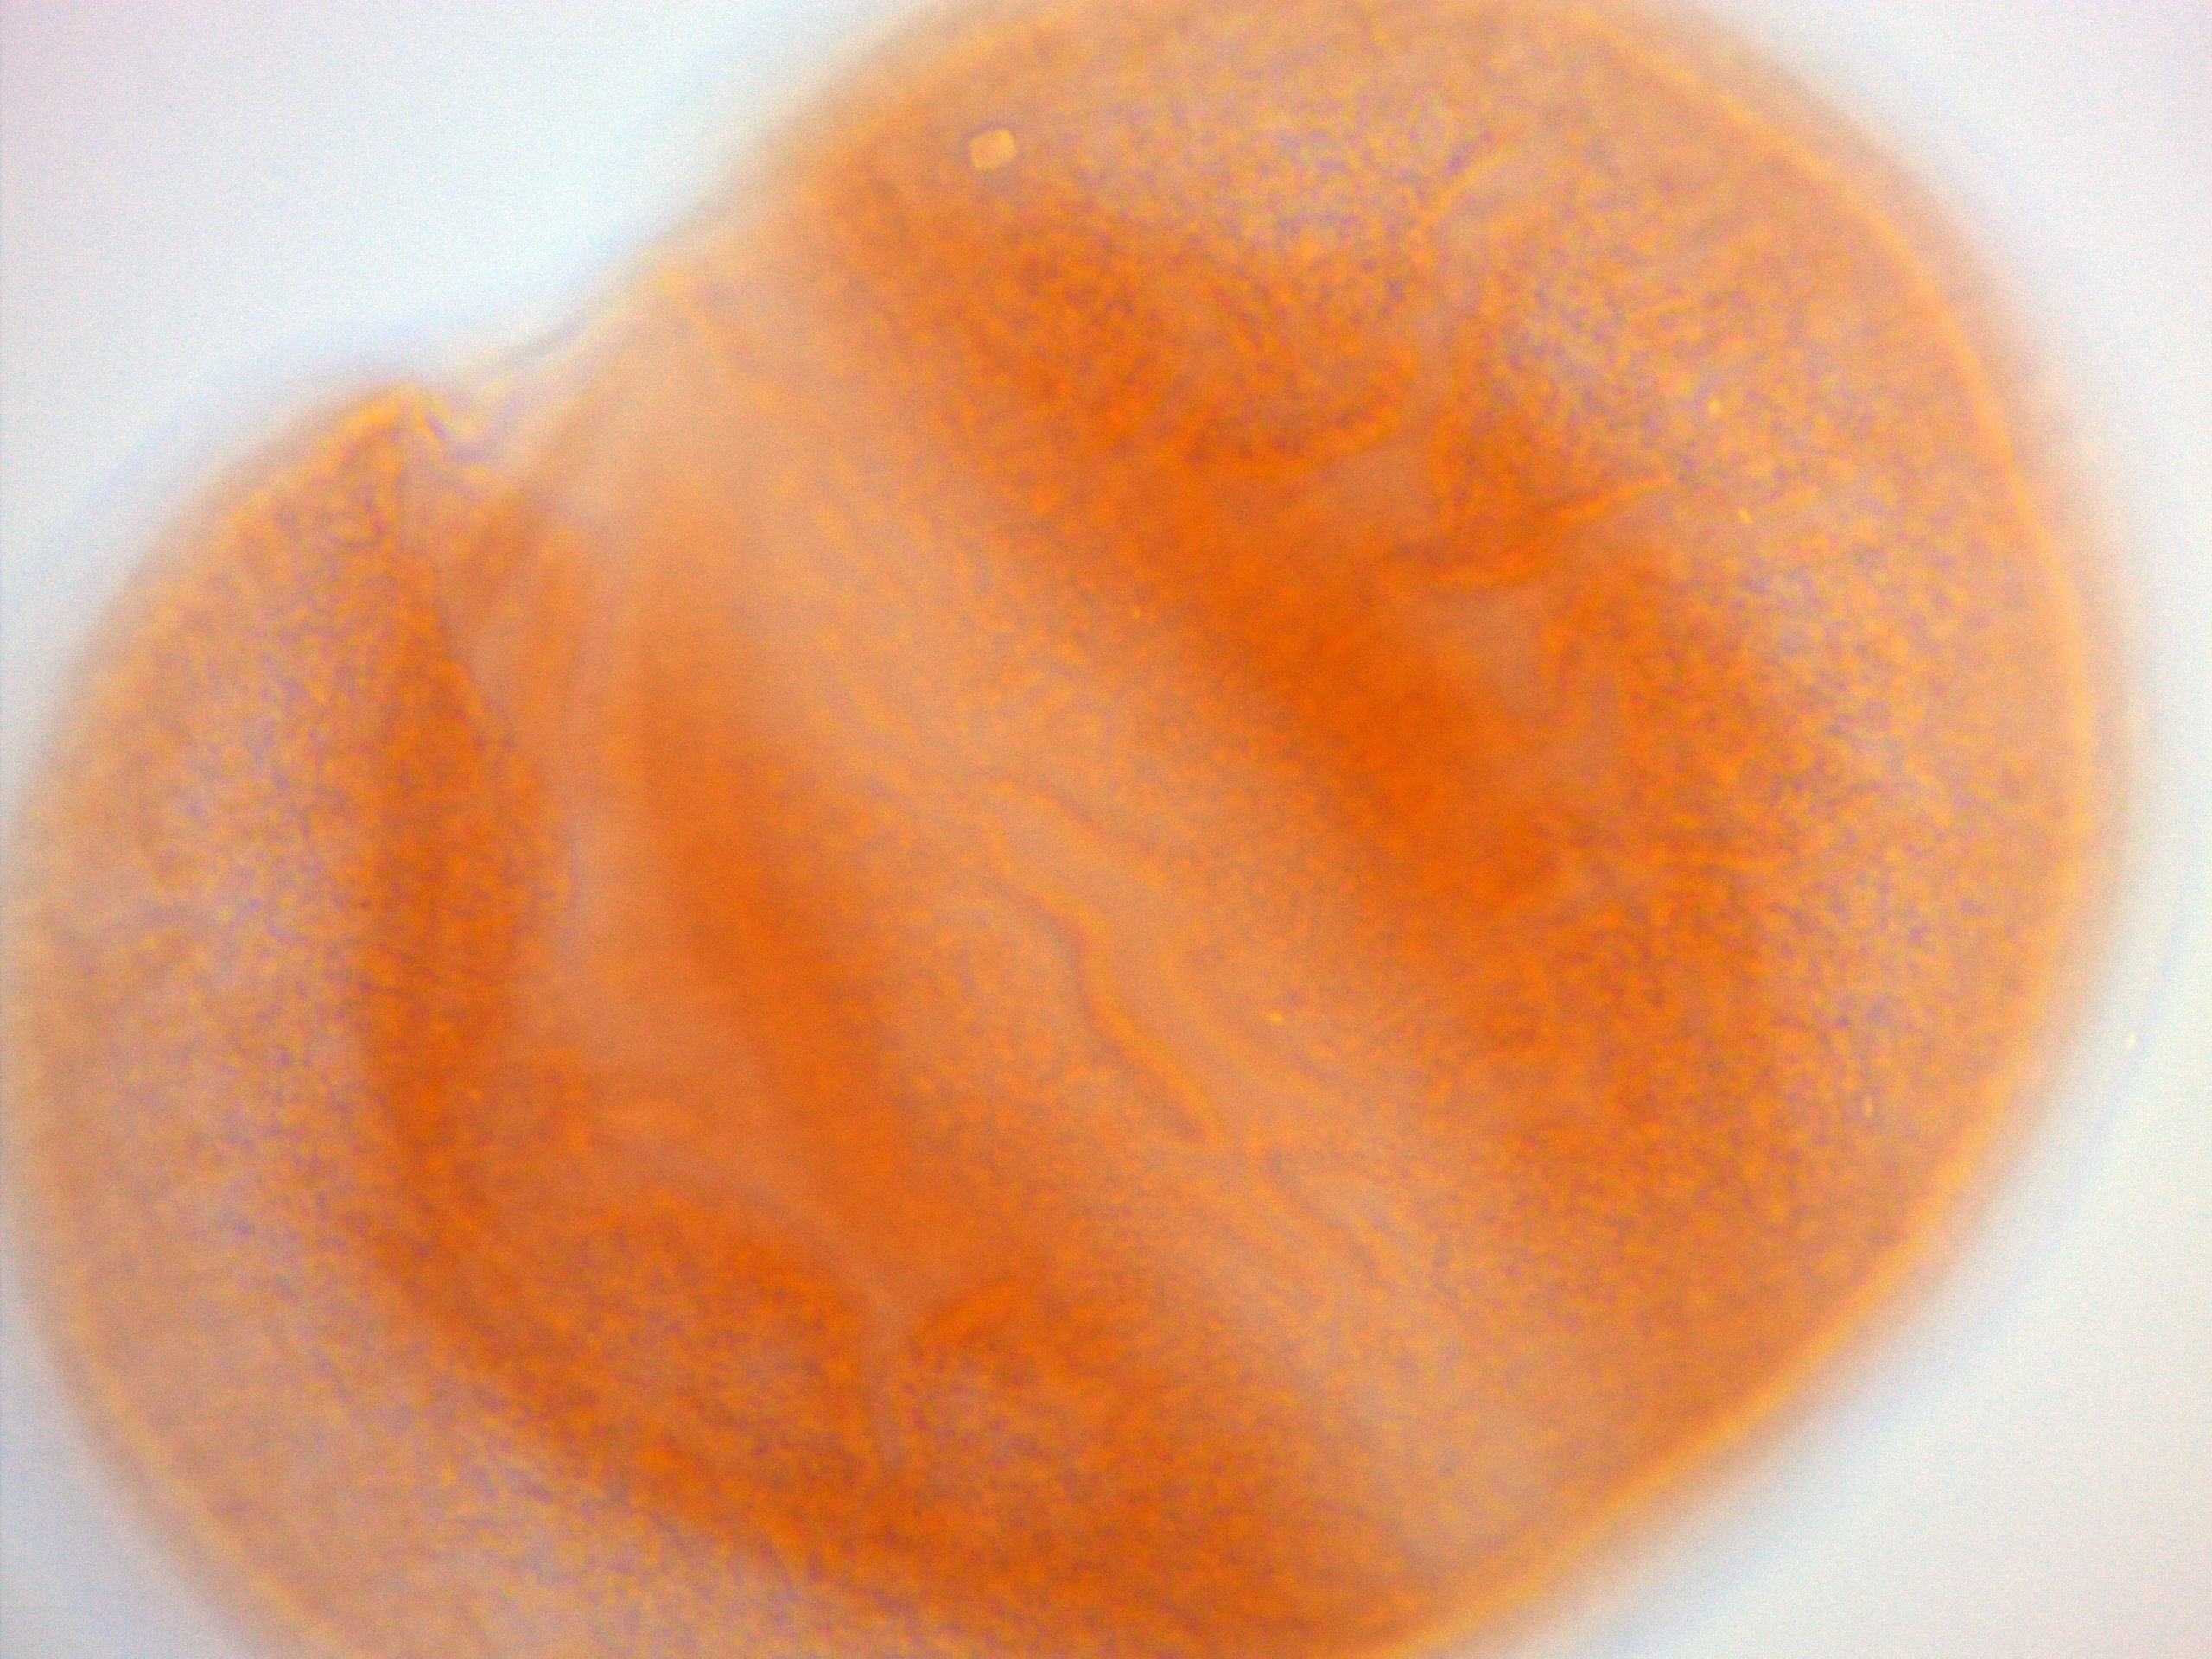
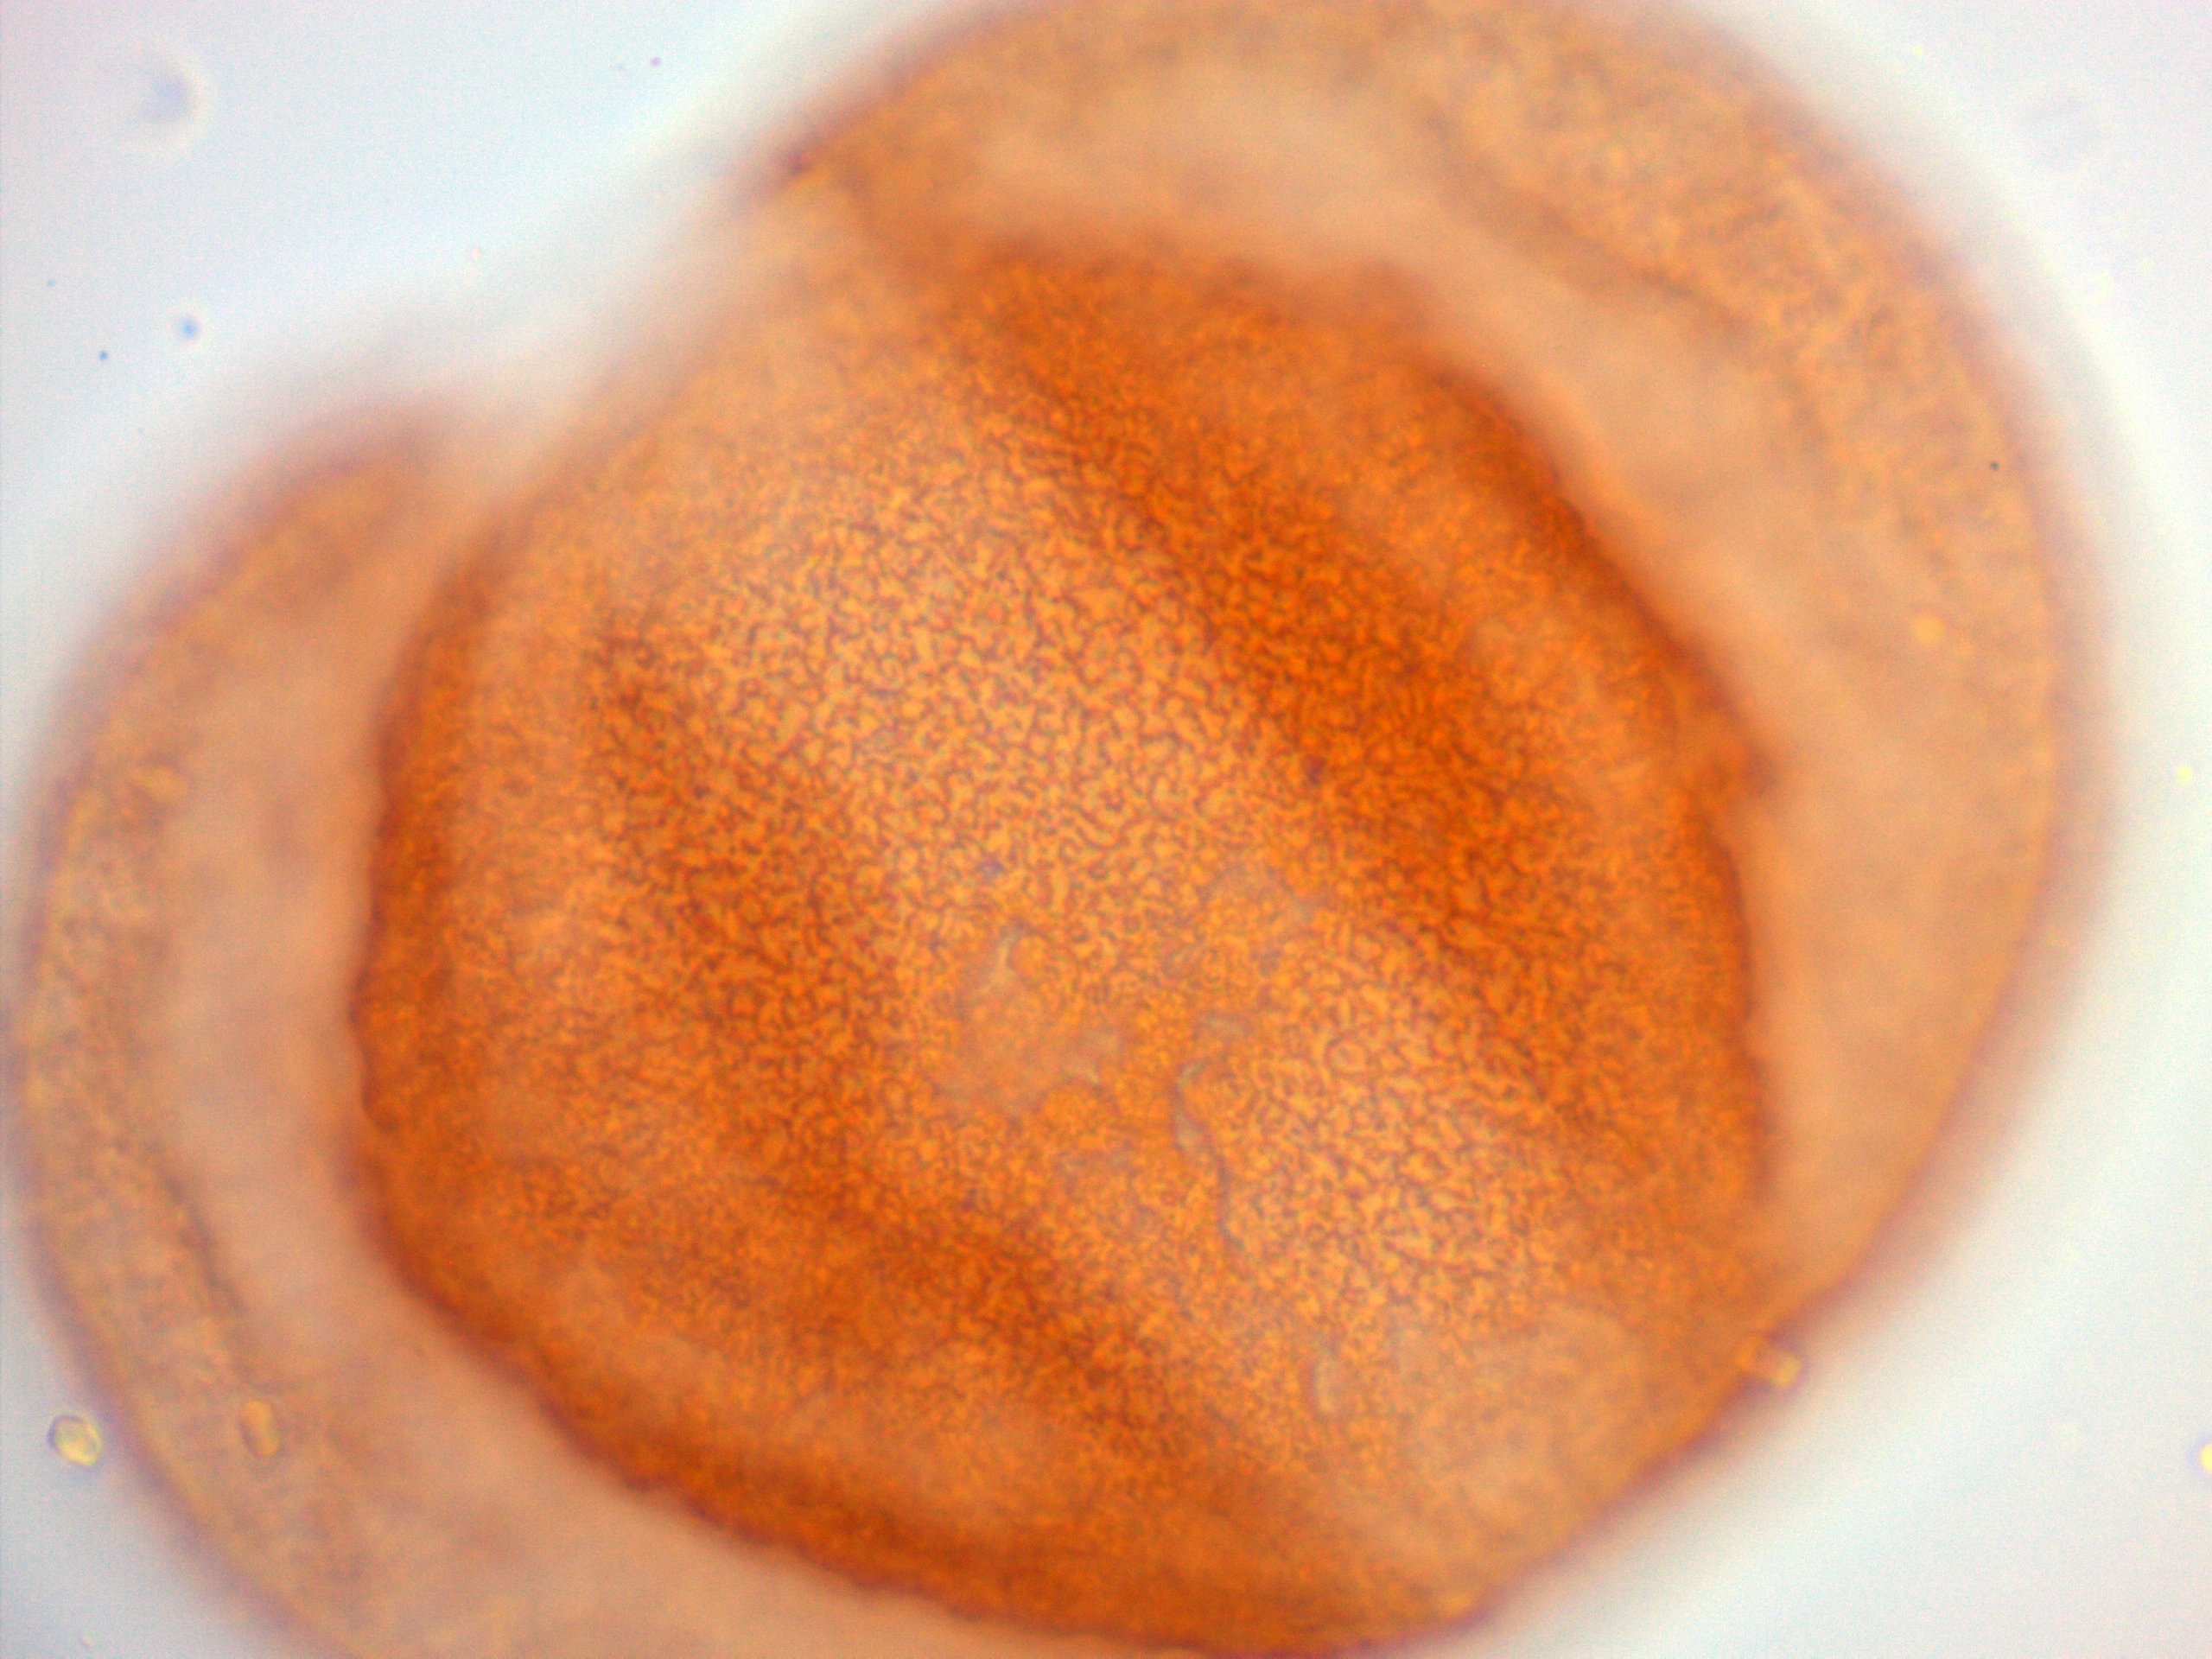
- image 1
- image 2
- image 3
- image 4
- Open imageJ (
imageJ.exe) and navigateFile > Import > Image Sequence... > Browseand select the directory that contains the source images. They need to be in their own directory, as imageJ will load all images in the directory. - Check the images by pressing the play button in the bottom left hand corner of the image window. This will cycle through all of the images you have loaded. Try not to include images that do not contain any areas of good focus.
- Navigate to
Plugins > Extended Depth of Field > 3D EDFand clickRun. Depending on the speed of your computer, processing will take a few moments – no progress bar will appear. - A few different products will appear.
Closethe3-D Extended Depth of Fieldwindow and close all of the open images apart from the one titledTexture. - If you want to add a scale bar, navigate to
File > Open...and select the image of the scale bar. - Select the straight line tool from the menu and draw a line between the ten divisions in the image.
- Navigate to
Analyze > Set scale...and set theKnown distanceparameter to100, and theUnit of lengthtomicrons. Each division is 0.01 mm, so the ten divisions are 0.1 mm, or 100 microns. - Tick the
Global optionand selectOK. - Select the
Textureimage. NavigateAnalyze > Tools > Scale Bar...and modify the parameters to your preference. The settings are previewed in the image. ClickOKto continue. - Save the image using
File > Save As...and choose a format of your preference.