New Standards for Safety Signage

I’m sure most laboratories are aware, but there are new requirements for warning labels in laboratories now. The old CHIP pictograms (black on yellow squares) have been replaced with the CLP pictograms (black on white and red diamonds), and although the regulations arrived in 2009, since June 2015 it is a requirement to use them alone. There is an exemption for goods already in the supply chain, so it seems we don’t need to re-label existing stocks, but it seems good practice to have a single, harmonised system in any laboratory.

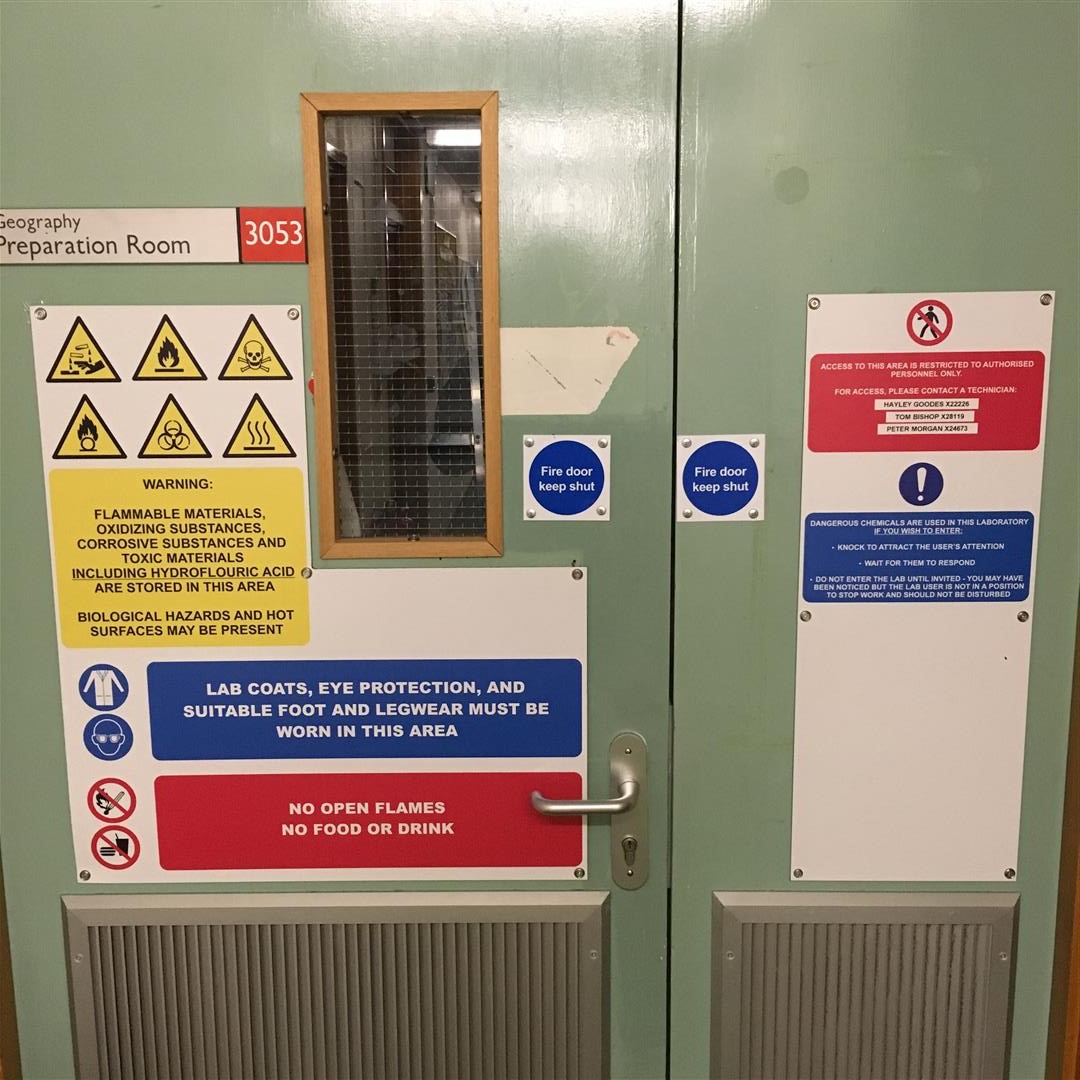
This also has prompted me to replace our laboratory signage – see the before and after photo’s below. Can you spot the BS3864-1 non-compliances in these photographs?
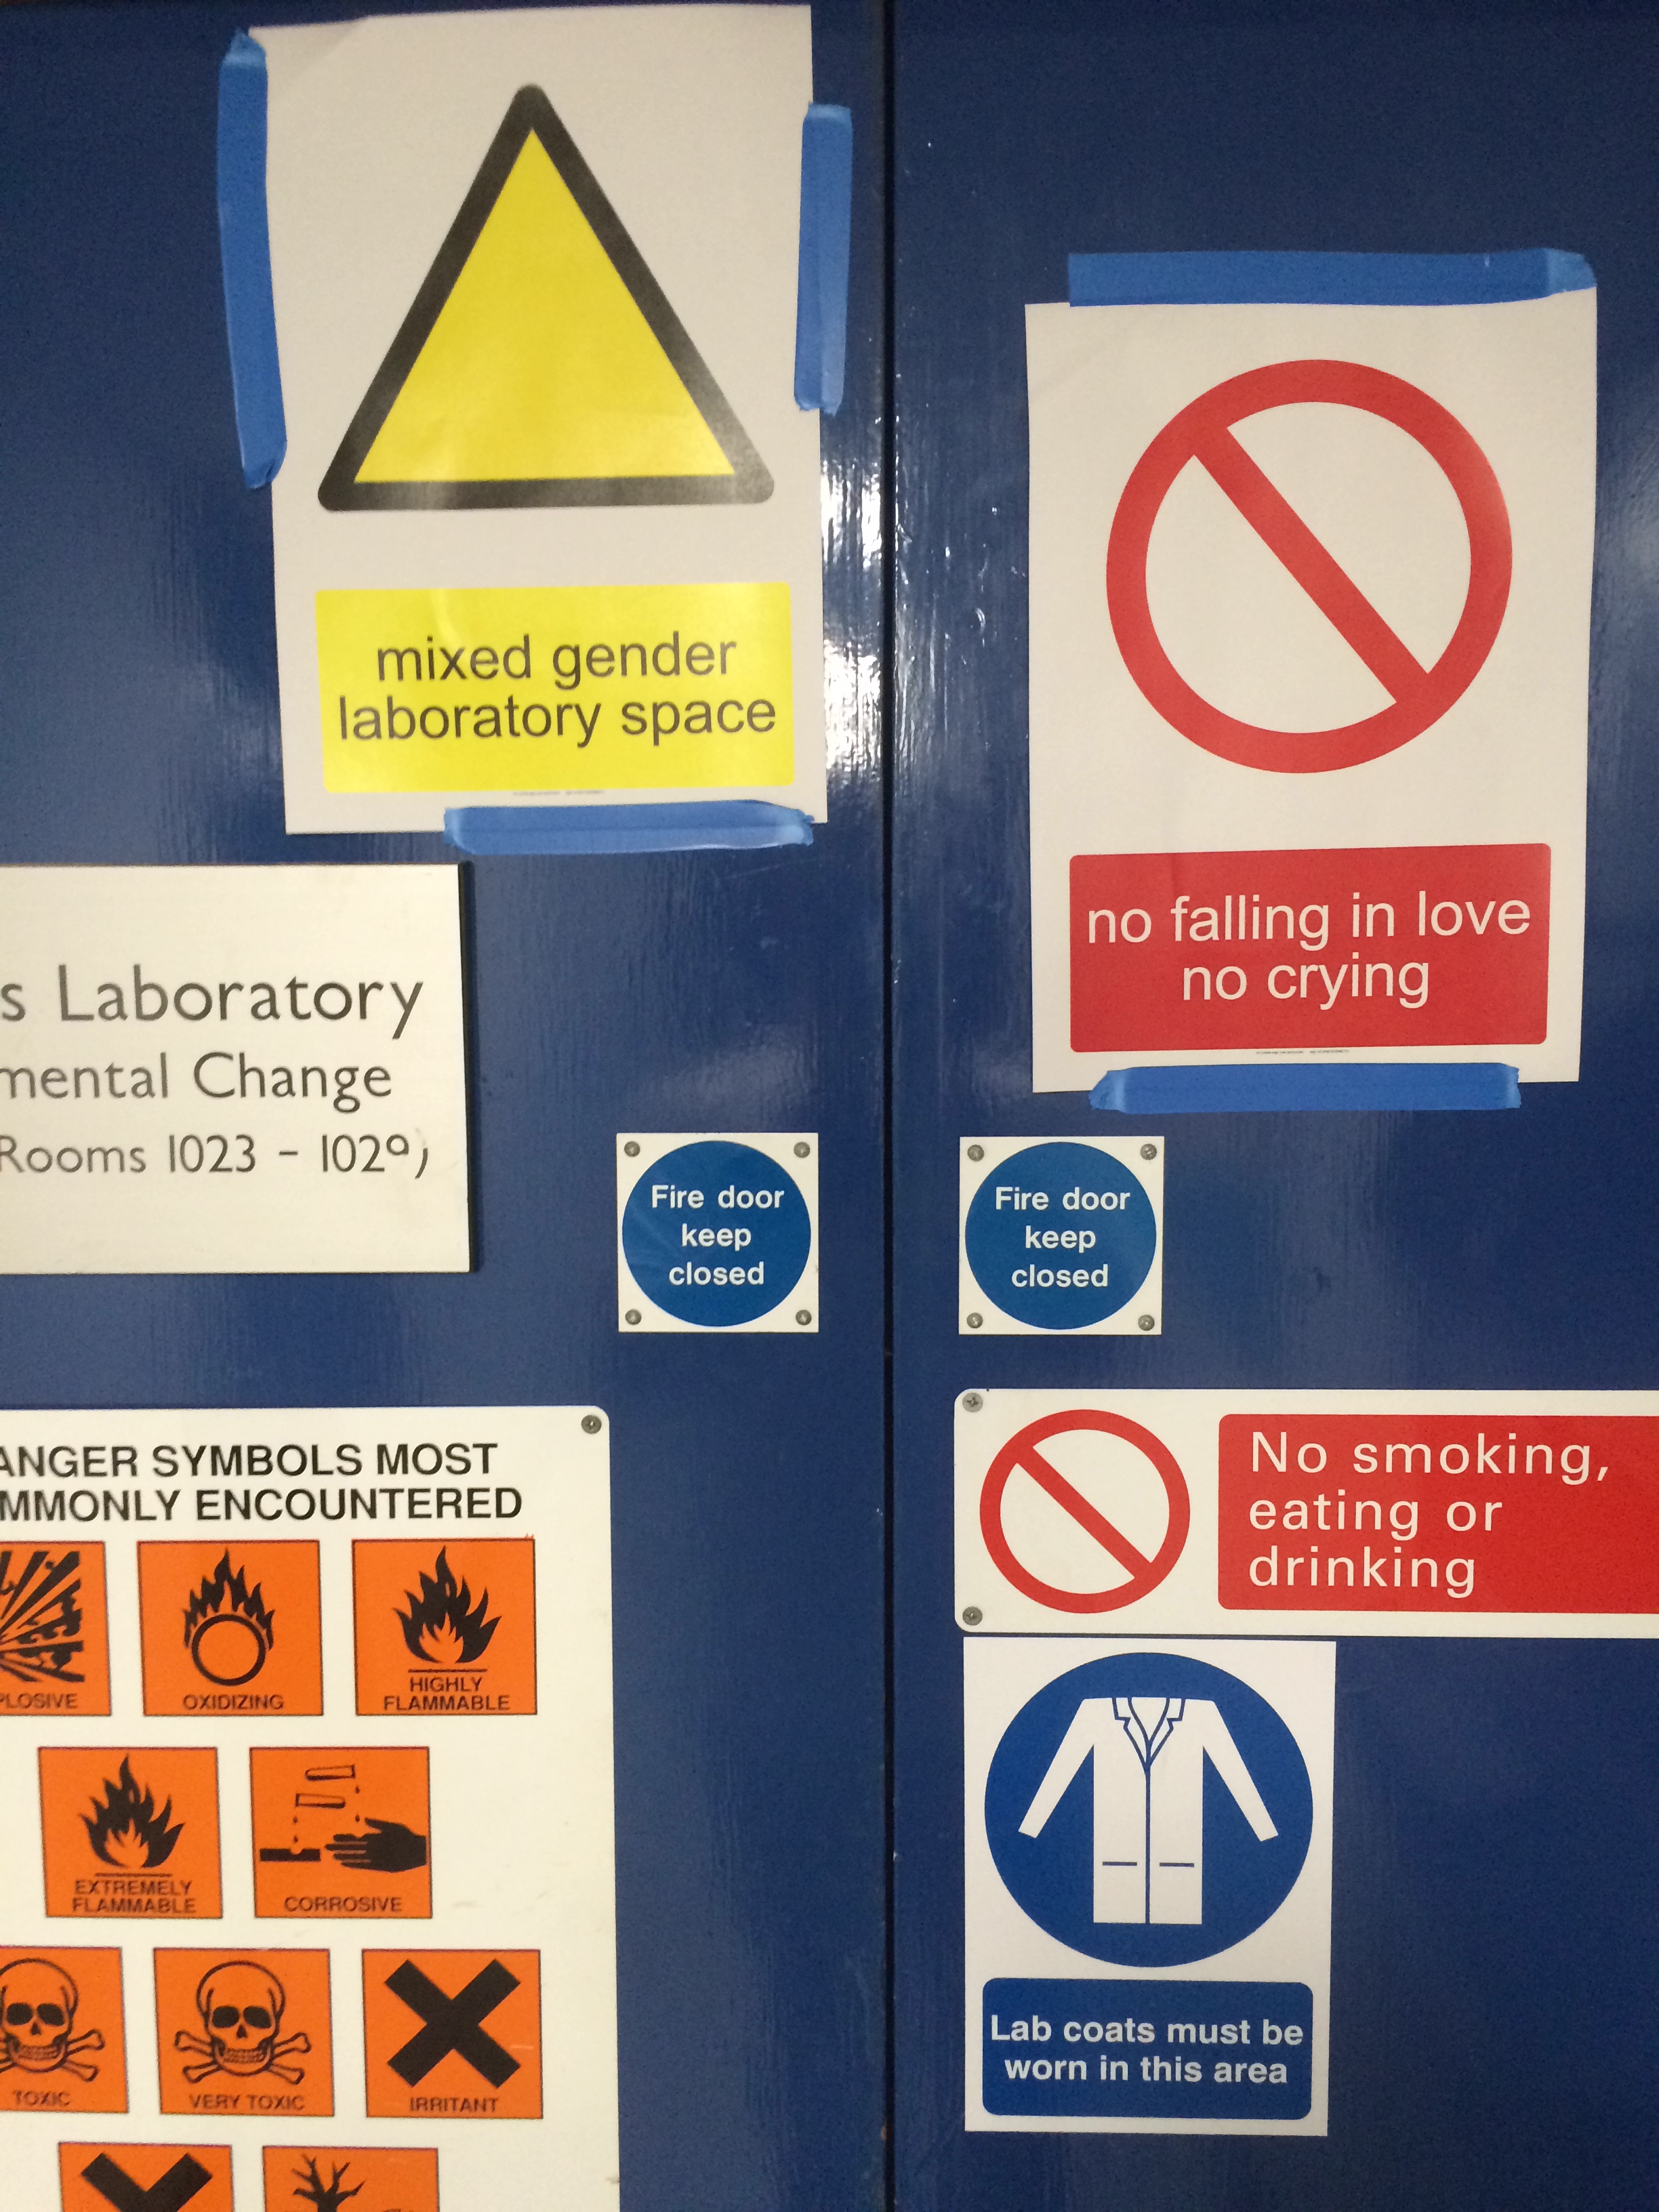
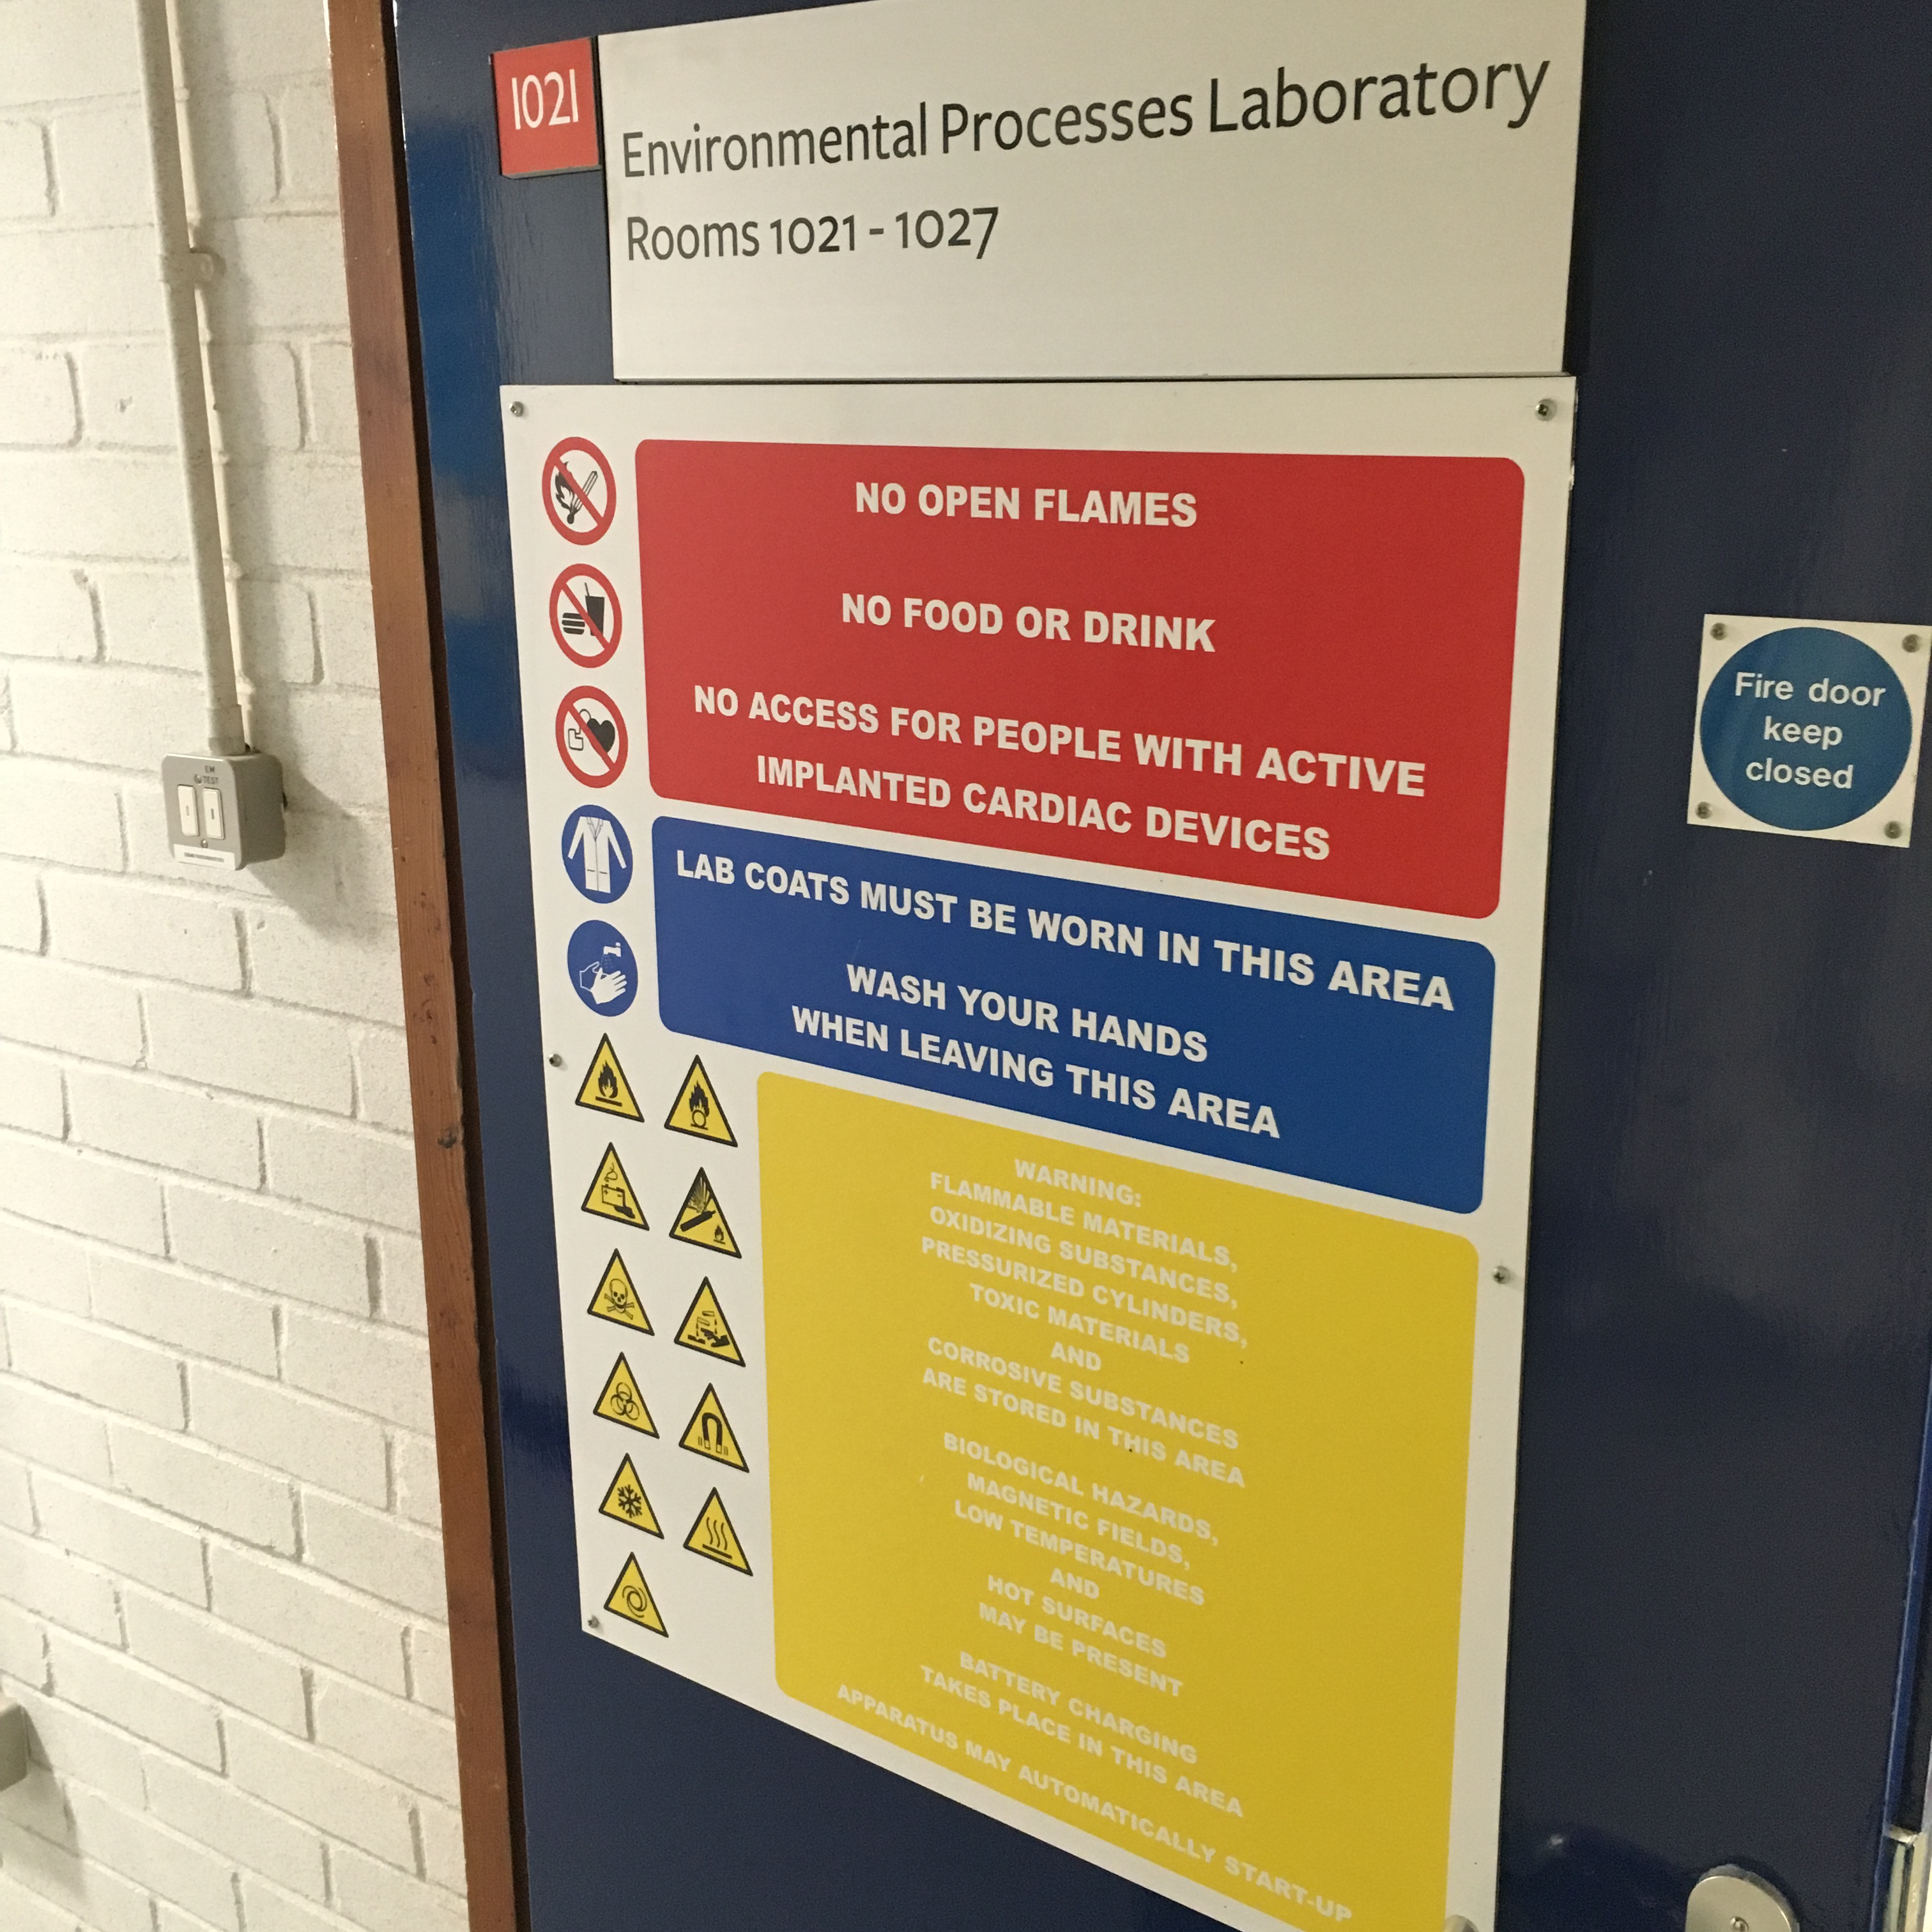
 

Old lab signageNew lab signage


UPDATE 20.1.16:

I’ve got round for doing upstairs now – here’s the before and after photos.


IMG_1982 (Large)IMG_2039 (Large)

Microscope Teaching Resources

We teach basic light microscopy to our undergraduates in the first year, in classes of up to 30 people. Although we maintain good staff-student ratios during these classes, and rarely have any breakages, we felt in necessary to have some good quality, clear diagrams of our transmitted-light microscopes so students could follow along and refer to parts of the microscope. They also serve as a reference for our second and third-year students who are undertaking lab work that isn’t directly supervised. The design below is based on the microscopes we own from Brunel Microscopes (UK) Ltd., but are pretty generic. Please feel free to use these under the Creative Commons licence.

Microscope diagram poster

Dissecting ‘scope diagram poster

3-D Printed Dust Caps for Jerrycans

Our particle size analyser (a Micromeritics Saturn Digisizer II) is always thirsty. We feed it solutions from large, 25 litre jerry-cans (we used to use 10 litre jerry-cans, but we found the batch changes too frequent). Dust and dirt in the solutions is detrimental to the analysis, and we used to wrap the spout and tubes in cling-film to avoid contamination.

Using our new Velleman K8200, I recently 3-D printed these very simple dust caps to fit these cans, with holes tailored to the inlet and outlet tubes. This is a neater solution than cling-film.


Jerrycan plug (dual)Jerrycan plug

Cheap Tablet for M9 River Surveyor

Our SonTek M9 River Surveyor has so far been deployed using a laptop computer. Although our Toshiba Toughbooks are pretty field-ready, this is still a slightly awkward way to deploy this system. I’ve been playing around with a WinBook TW700; these cheap little tablets are running Windows 10 and available for under £70 all in. I installed RiverSurveyor Live (Tablet) on it, and the on-board Bluetooth works fine with the M9. The removable microSD is perfect for data storage and transfer. I bought a cheap 7″ touch-screen compatible case for it. It’s perfect for use on small inflatable boats and for bank-side use.

A Simple Micro-manipulator for Tephra Work

I’ve knocked together a simple micro-manipulator for moving tephra shards around under high-power microscopes. Commercial systems are eye-wateringly expensive and over-specified for this job. It is made from an old microscope that I stripped down so only the base, head and focus controls remained. I then removed the attachment from the prism and used it as the base of the needle mount. I attached a couple of pieces of Meccano and a plastic cable mount.

This allows a syringe, driver and micro-fine needle to be attached – I used a SGE 10ul syringe (p/n 002050) and a 0.17mm ID needle (p/n 037610).

To manipulate a sample, the x/y controls and the microscope can be used to position the needle, and the x control function is performed by the old coarse and fine focus on the new micromanipulator. See photos below – note I’ve since added a supporting arm to the needle to make it less prone to strafing. Total cost was under £100!

Micromanipulator headMicromanipulator needleMicromanipulator

UWITEC Underwater Camera

Ever wanted to see your UWITEC gravity corer underwater? Aside from being quite good fun, this would allow the operator to check whether the unit had tipped over, or whether the trigger mechanism had operated correctly at the point of contact.

Well, I was asked to design such a system, and obliged. See the attached photo – I’ll update with video as soon as it is next deployed! This is an after-market bike handlebar mount, SP Gadgets POV Light, and a GoPro Hero4.

UWITEC Camera
A GoPro attached to a UWITEC corer