The lab is cold and half-empty because of the current COVID-19 social distancing measures in place. These are aimed at reducing the risk associated with viral transmission by aerosols. This means reducing the number of people breathing into a given volume, and increasing the turnover of fresh air in the same volume. There are many calculations and computer simulations that have gone into developing these rules, but the basics are pretty simple – more ventilation, fewer people. In practice this is quite easy to achieve in a laboratory like ours – the three fume cabinets along one wall mean there is a high turnover, and we’ve got lots of smaller side labs.
A number of researchers have proposed that the CO2 concentration of a volume provides a good proxy for the overall potential risk in every-day settings, and that this presents a low-cost empirical way of managing this risk. This is because CO2 is a by-product of people breathing (breath has a CO2 concentration of around 38,000 ppm), and if a room has poor ventilation the CO2 will gradually increase. If a room is well-ventilated it will equilibrate with the outside air, usually around 400 ppm. Some have proposed that a CO2 concentration of 600–1000 ppm should be aimed for, others have complex models for setting the risk level (see Peng & Jimenez, 2020).
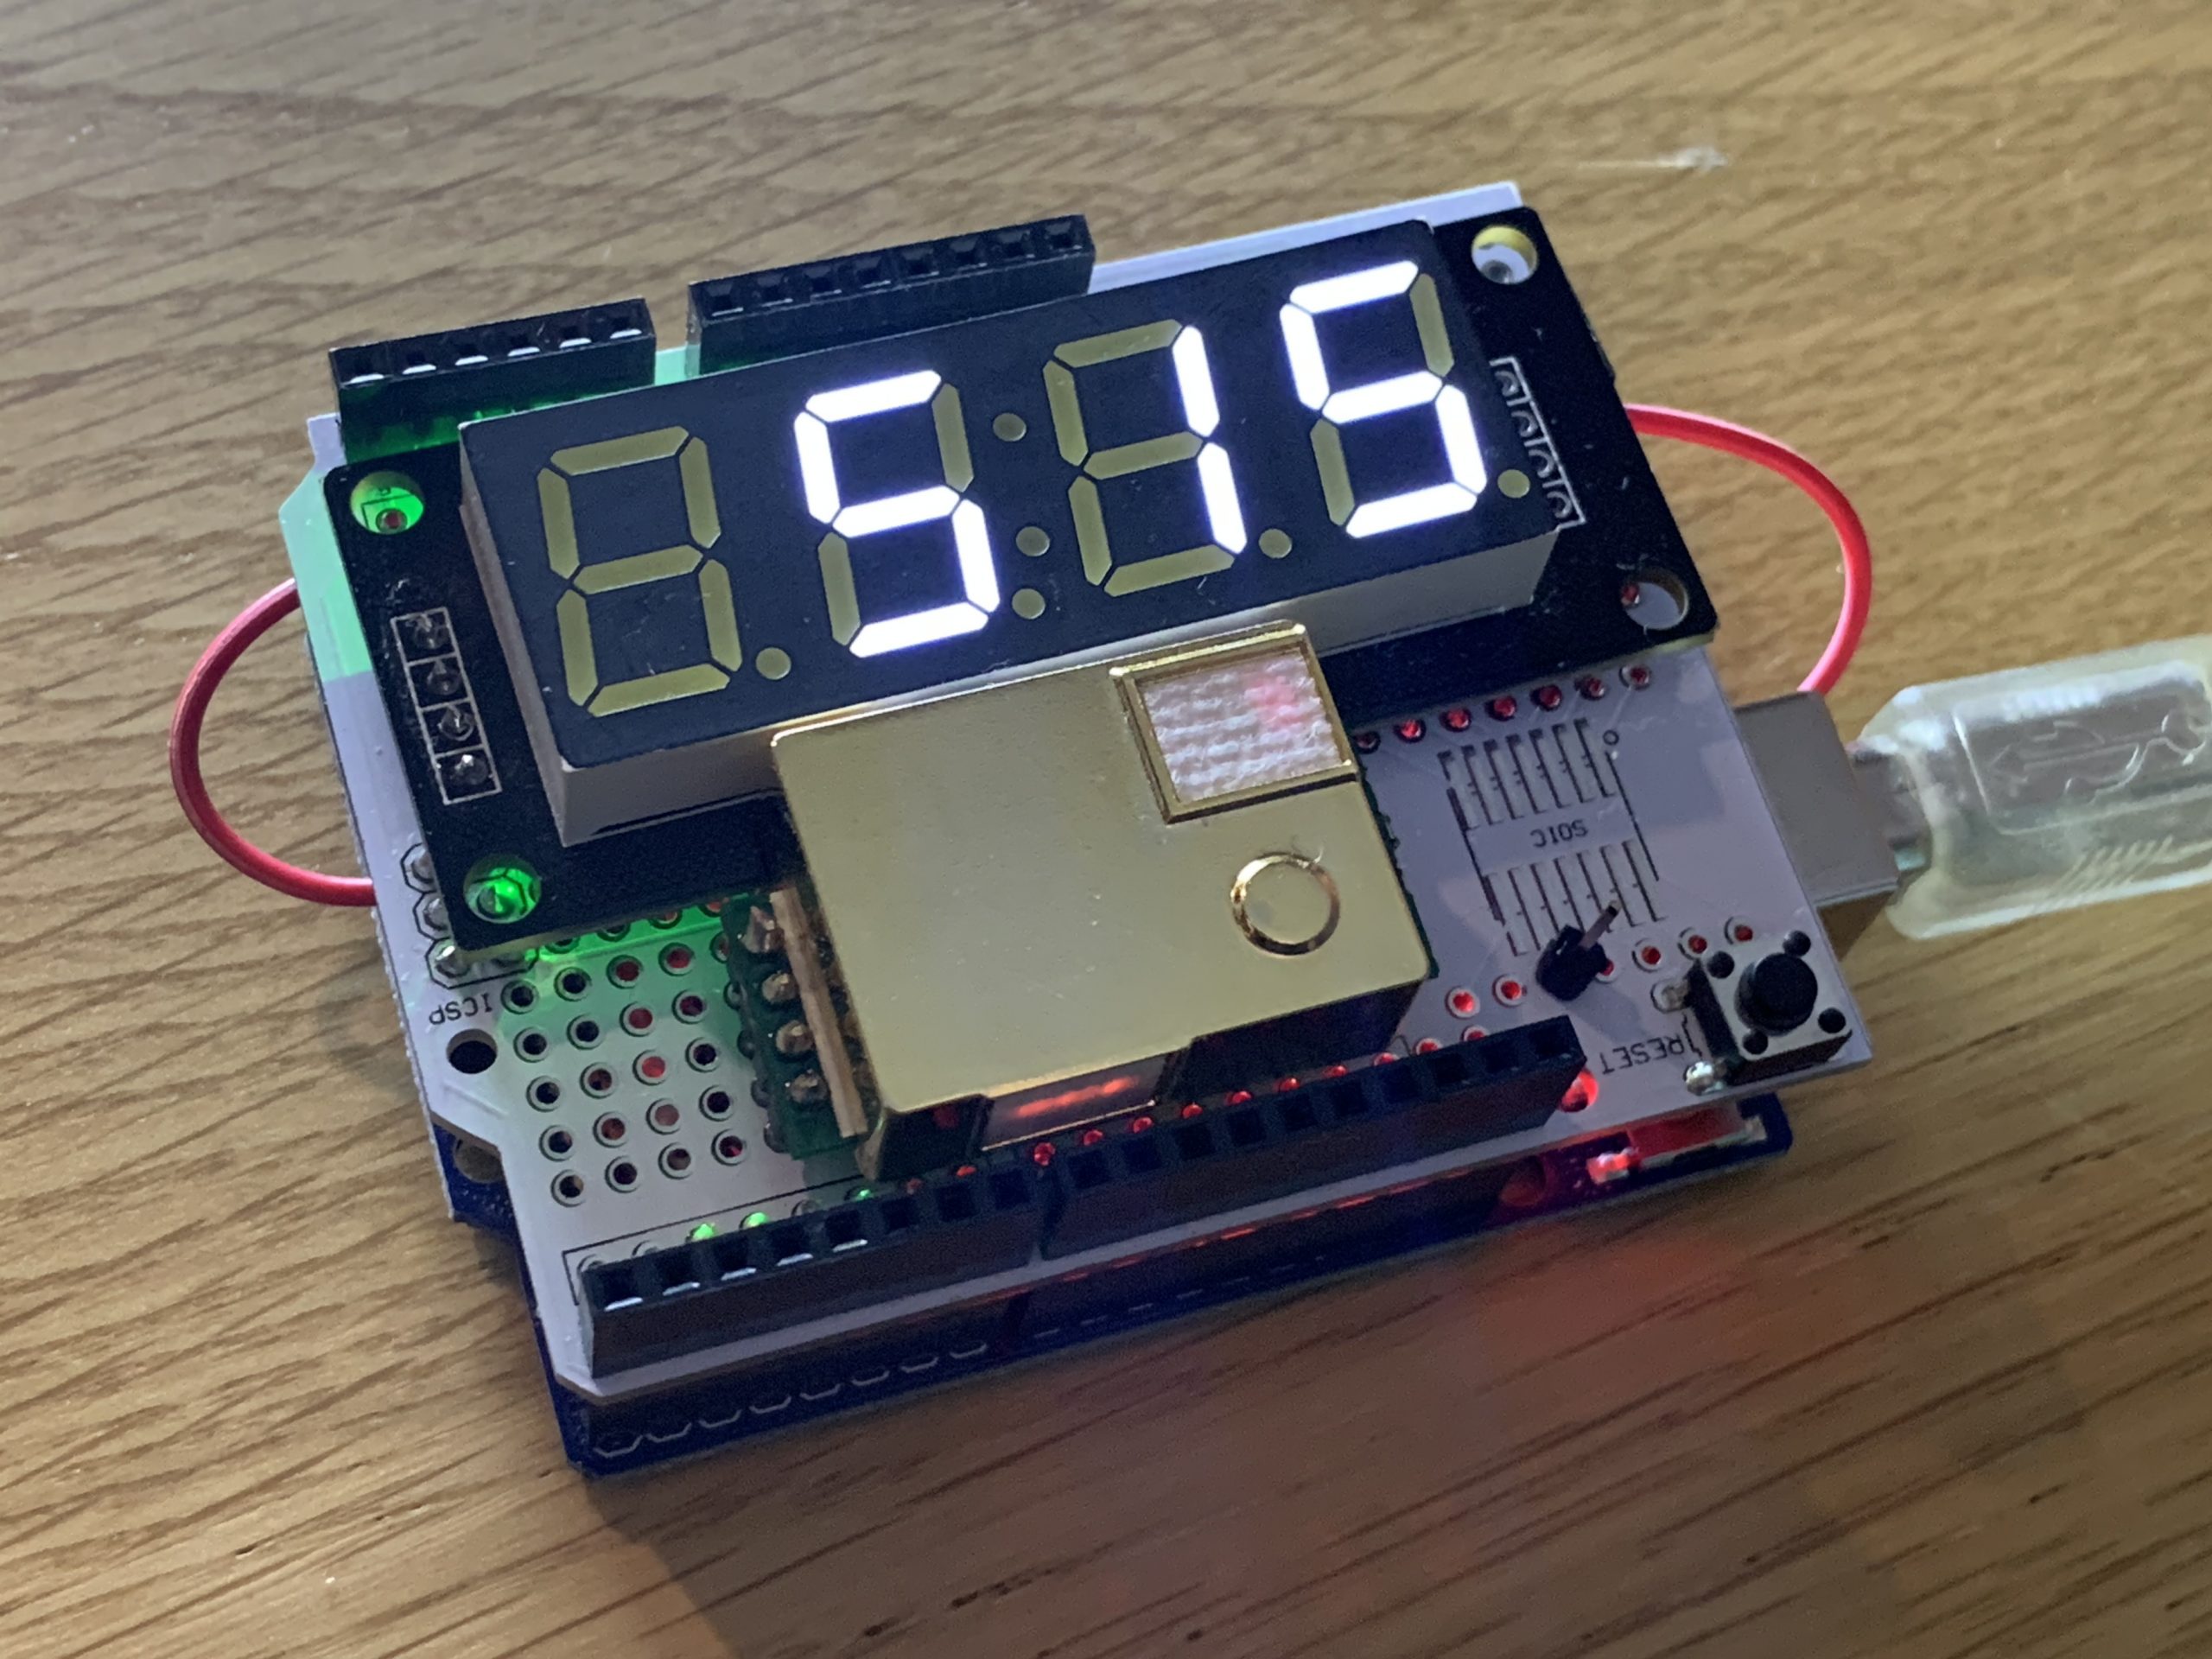
We have many way of measuring CO2, including the Los Gatos gas analyser, The ADC IRGA, and Sarah Brown’s low-cost sensors, but I was curious to see just how cheaply it could be done. The system I have built uses a generic Arduino UNO-type board (~$2), a breadboard (<$1), a 4-segment display (<$1) and at its heart, a Winsen MH-Z19B NDIR CO2 sensor (~$12). The entire package can be made for around $15. My implementation uses the code implemented by Github user Erriez, available at Github (Erriex/ErriexMHZ19B). Before I discovered Erriez’s implementation I spend an evening learning to use Realterm to send and receive hex strings for the first time. I also added a quick way to enable the calibration mode by wiring in the pin (shown near the reset button) and adding a spare wire (in red) to short this to pin to ground. When I get a moment in the lab I’ll check it against our reference units and see how it performs.